Hi, Been awhile since I have posted, but I guess that’s a good thing it means I am busy! Anyways, had a two weekend project I wanted to share about using 802.1x FreeRadius Active Directory and an Aruba access point. This was a learning experience….
Let’s get right into it.
First I had a fresh copy of Gentoo Installed, I won’t get into the specifics of that, but I had to emerge Samba (with winbind and ads) and free radius, I was also located on the same LAN as my domain controller.
The samba config is very simple, The domains have been changed to protect the innocent.
/etc/samba/smb.conf
[global] workgroup = EXAMPLE server string = Radius server role = member server local master = no preferred master = no hosts allow = 127. 10.200. log file = /var/log/samba/log.%m max log size = 50 realm = EXAMPLE.EXAMPLE.com security = ads password server = dc1.example.example.com kerberos method = secrets only winbind separator = + winbind use default domain = true winbind offline logon = false ;winbind separator = + #winbind nss info = rfc2307 winbind trusted domains only = no ;winbind use default domain = yes winbind enum users = yes winbind enum groups = yes winbind refresh tickets = Yes #idmap config *:backend = tdb #idmap config *:backend = ad #idmap config *:range = 70001-80000 idmap backend = tdb idmap uid = 50000-99999 idmap gid = 50000-99999 #idmap config EXAMPLE:backend = ad #idmap config EXAMPLE:schema_mode = rfc2307 #idmap config EXAMPLE:range = 500-40000 idmap cache time = 1 idmap negative cache time = 1 winbind cache time = 1 #============================ Share Definitions ============================== [homes] comment = Home Directories browseable = no writable = yes |
Next let’s setup kerberos (I emerged mit-krb5).
cat /etc/krb5.conf
[logging] default = FILE:/var/log/krb5libs.log kdc = FILE:/var/log/krb5kdc.log admin_server = FILE:/var/log/kadmind.log [libdefaults] default_realm = EXAMPLE.EXAMPLE.COM dns_lookup_realm = false dns_lookup_kdc = false [realms] EXAMPLE.EXAMPLE.com = { kdc = dc1.example.example.com:88 admin_server = dc1.example.example.com:749 default_domain = example.example.com } [domain_realm] .example.example.com = EXAMPLE.EXAMPLE.COM example.example.com = EXAMPLE.EXAMPLE.COM [kdc] profile = /var/kerberos/krb5kdc/kdc.conf [appdefaults] pam = { debug = false ticket_lifetime = 36000 renew_lifetime = 36000 forwardable = true krb4_convert = false } |
I do have a desire to fix the tdb backend in samba, because it caches for a LOOOOONNNNNGGGGG time. To fix that I made a script in cron, I sort of think that if you use centos or Debian you won’t have to do this:
/root/fixwinbind.sh
#!/bin/bash rm /var/cache/samba/netsamlogon_cache.tdb /etc/init.d/samba restart |
edit your crontab
*/5 * * * * /root/fixwindbind.sh |
I really encourage you to see if winbindd does better updates on your system before you do this hack.
Make sure everything starts (smbd nmbd winbindd)
Next we have to join the domain
net join –U Administrator |
It will prompt for your domain admin password, type it there.
Boom not you are on the domain you can test it by doing a wbinfo -a
wbinfo -a example%examplepass |
Let’s fix our nssswitch.conf file we need to do this because we want winbindd to look at groups and users as local to the system.
/etc/nsswitch.conf
passwd: compat winbind shadow: compat winbind group: compat winbind # passwd: db files nis # shadow: db files nis # group: db files nis hosts: files dns networks: files dns services: db files winbind protocols: db files winbind rpc: db files ethers: db files netmasks: files netgroup: files winbind bootparams: files automount: files winbind aliases: files |
Now you should be able to do a:
id <yourwindowsusername> |
it should return something like this:
radius1 raddb # id user uid=70001(user) gid=70001(domain users) groups=70001(domain users),70002(office-wifi),70006(network-systems),70050(BUILTIN+users) |
You can see that now all your GID’s are available on your Gentoo/Linux install
Let’s take a look at the access point, I am using An Aruba 325, CAUTION: THIS AP IS EXPENSIVE, but I think it’s worth it. I am not going to go though exactly how to setup the Aruba, Like doing a factory reset and such, but this is a high level config.
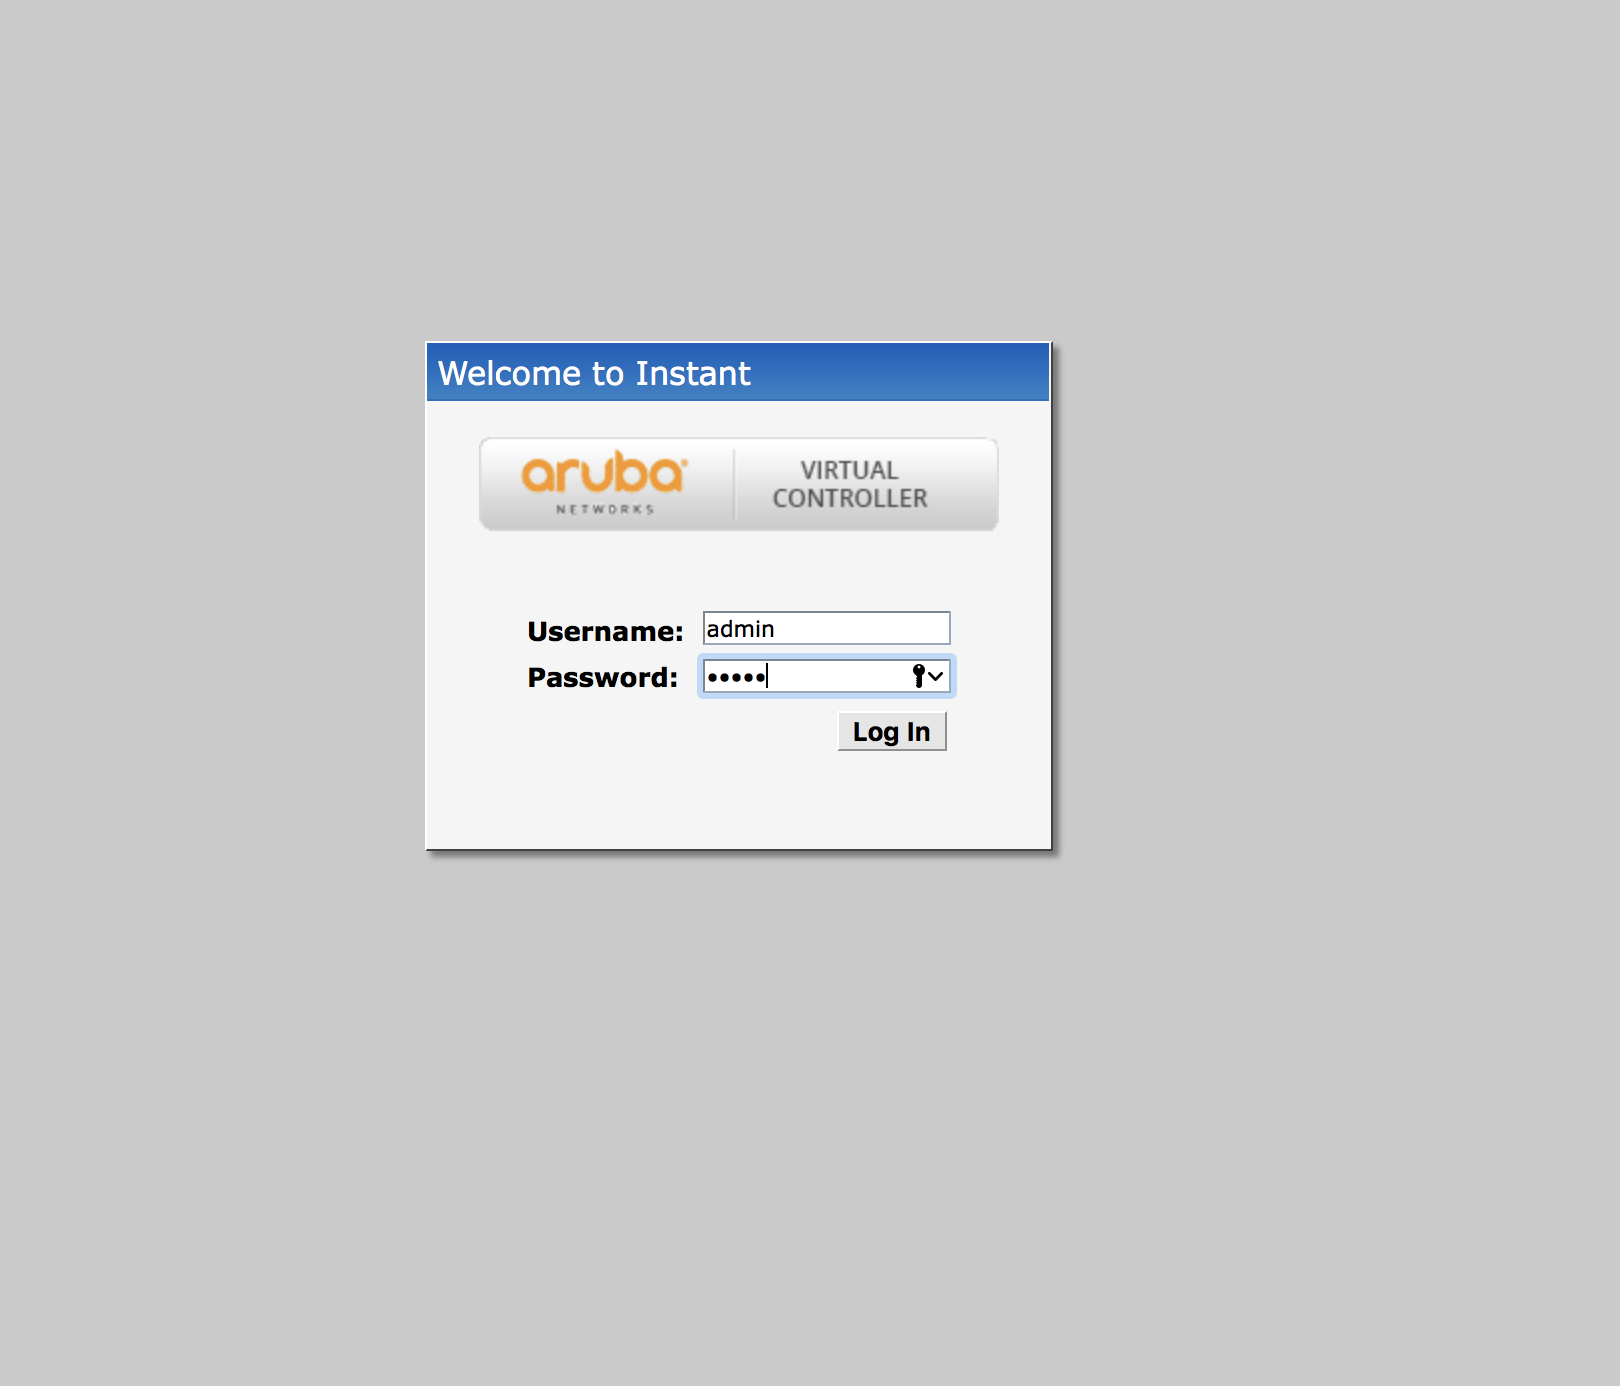
Login to the Aruba in the Web browser:
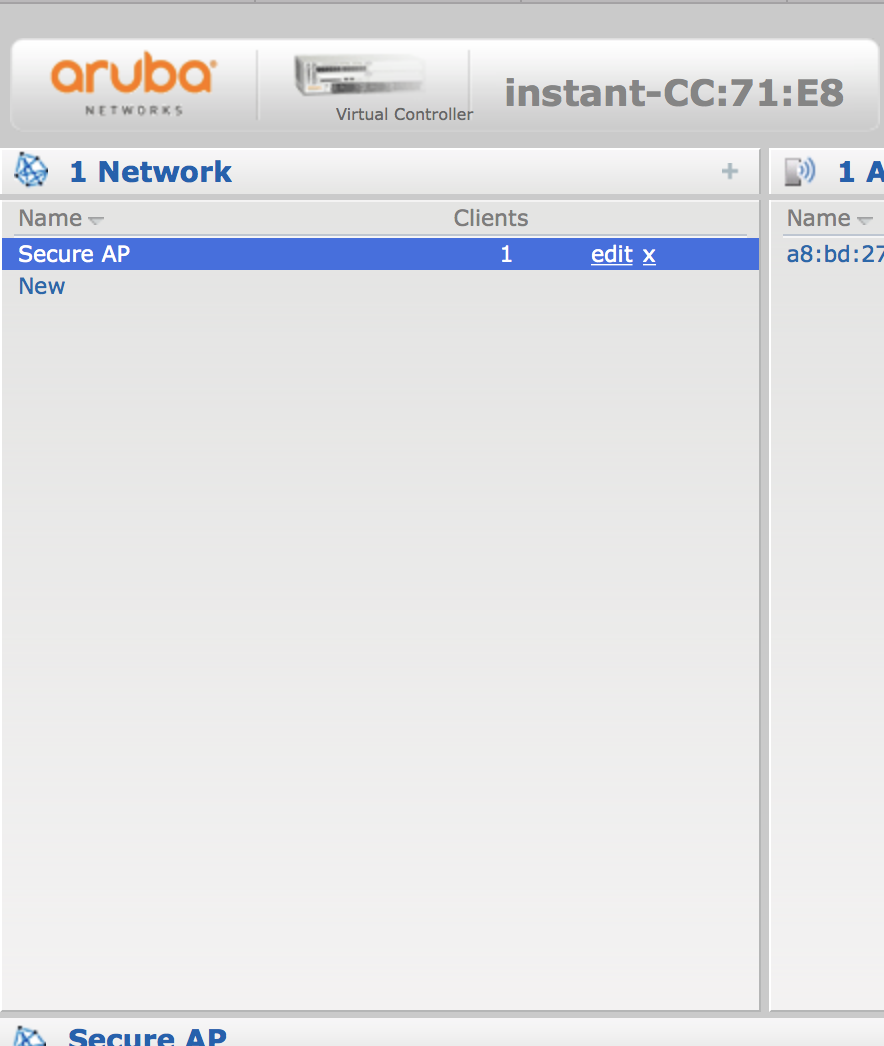
I set mine up as a single AP, since I only had one with no controller. Click on the AP SSID and push edit:
I set mine up as an employee network:

This next screen is important:
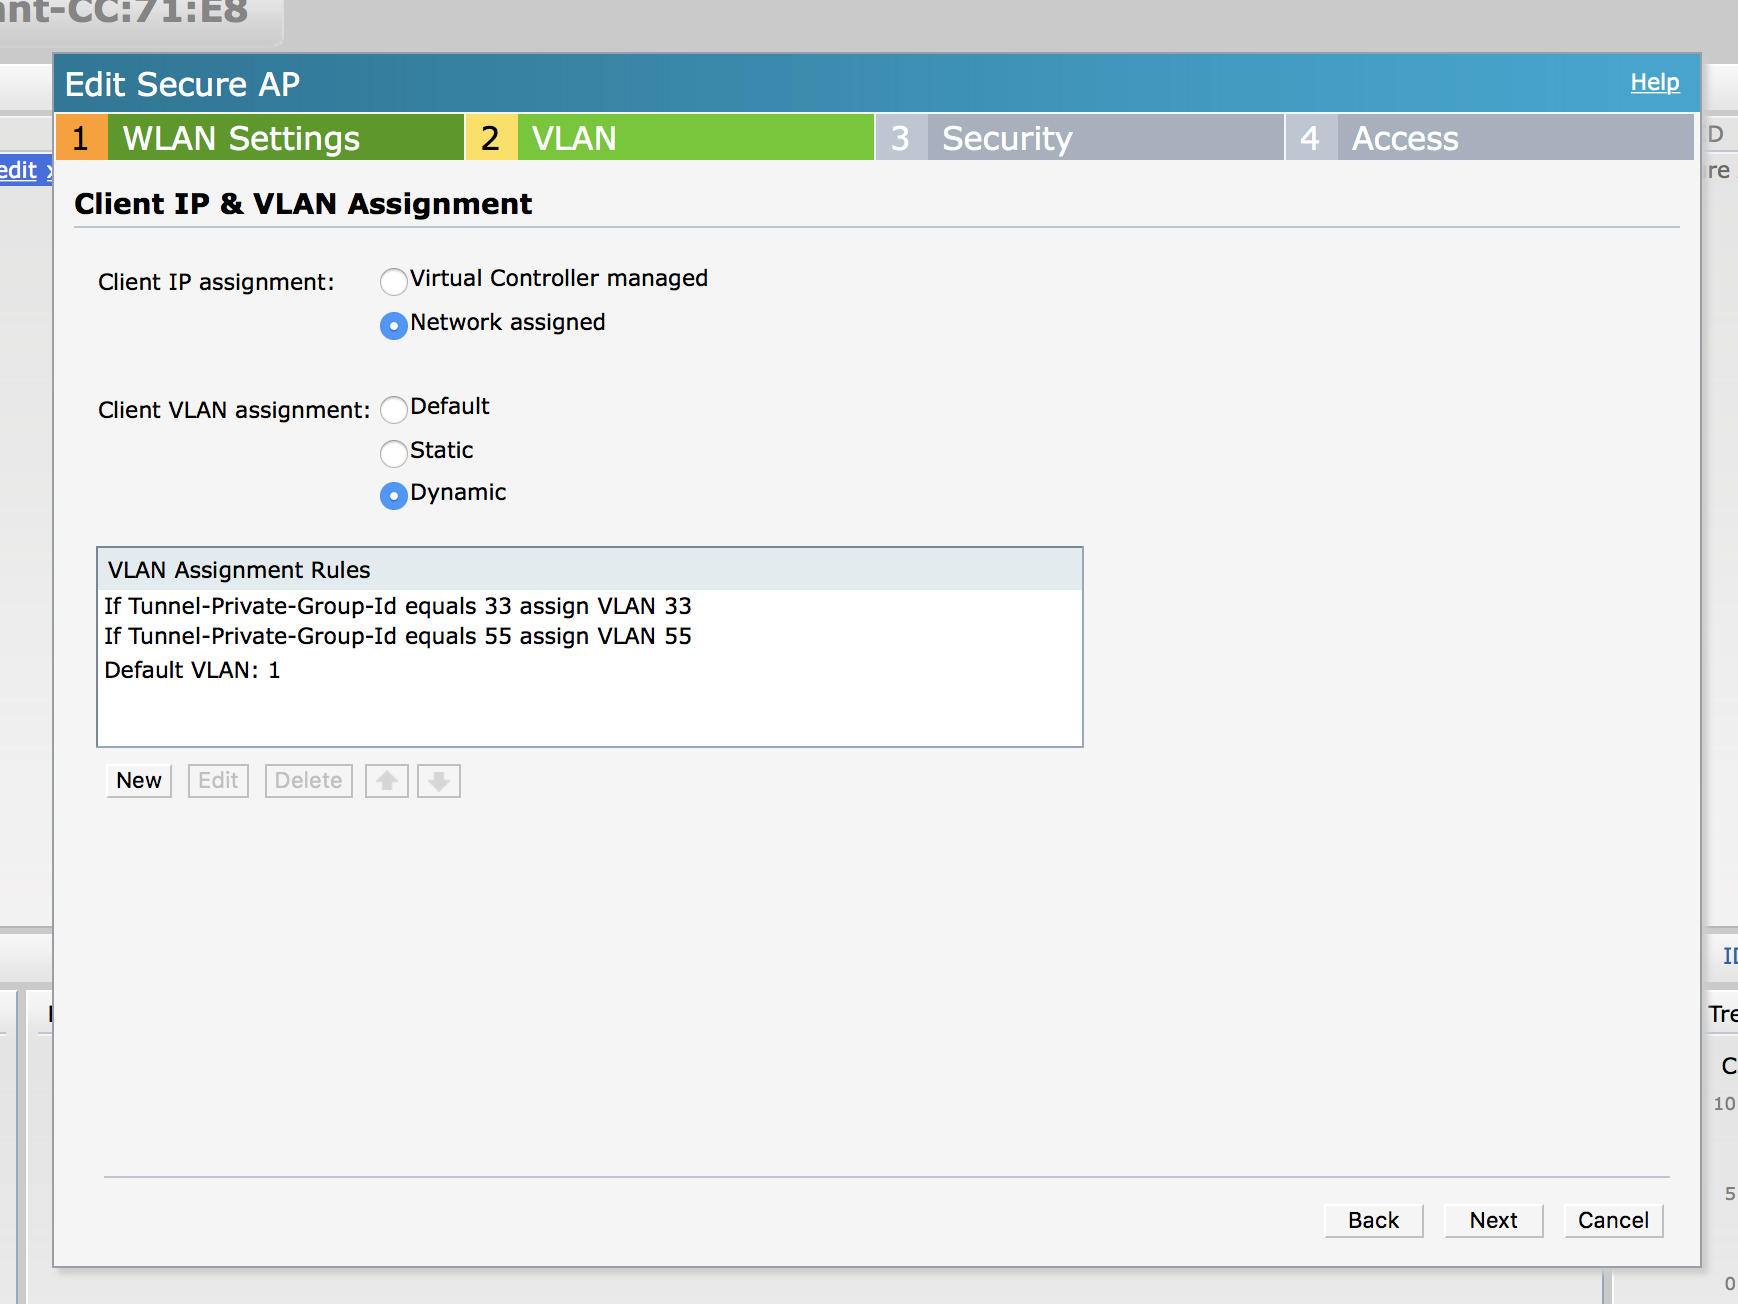
Ok so this defines out tagged VLANS to the Aruba, so you can see I have vlan 1 untagged, vlan33 tagged, and vlan55 tagged to the Aruba I am also using Tunnel-Private-Group-Id, Aruba does have some other variables that are more Aruba centric, but I thought I would use a more widely accepted one.
Since I already had my radius configured you need to suffer through this screen:
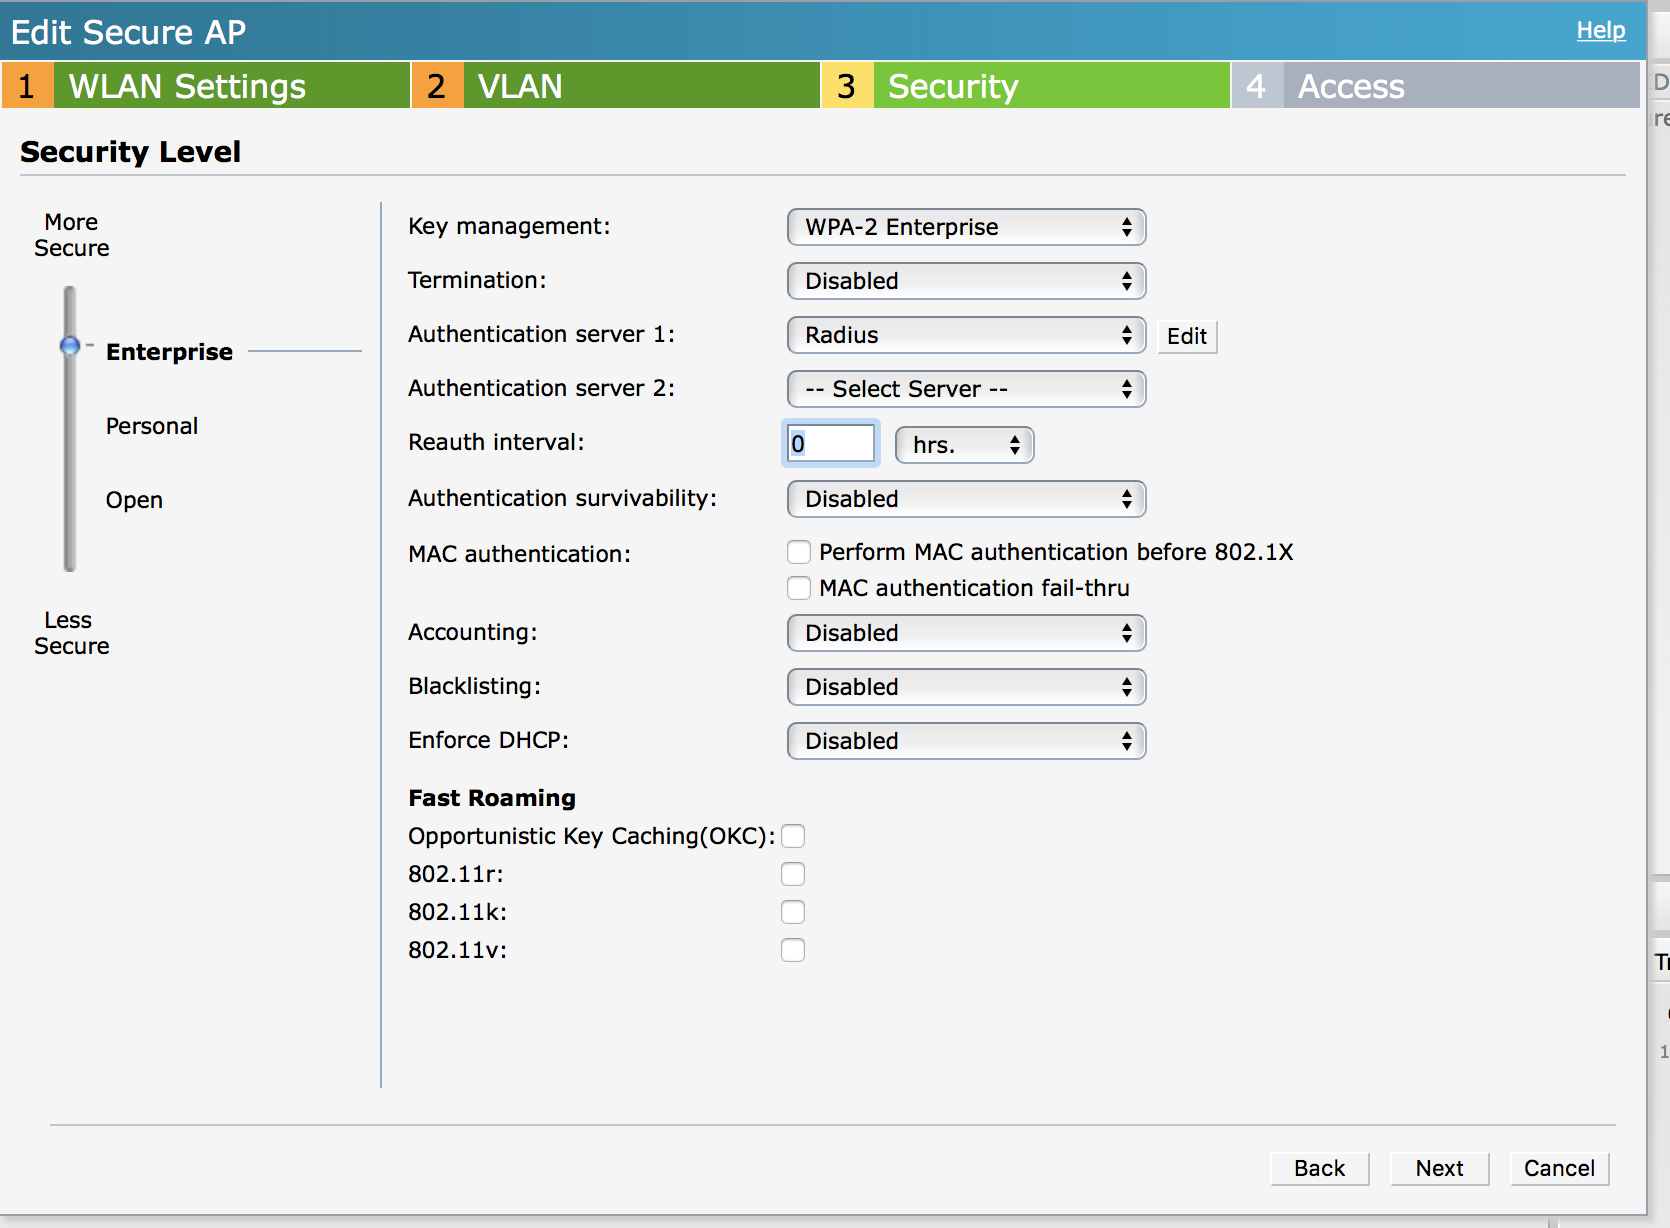
My radius config looks like this:

Make sure you remember what password you put in, also the IP address is the IP address of your radius server, You also MUST know the IP address of your ap herby now called
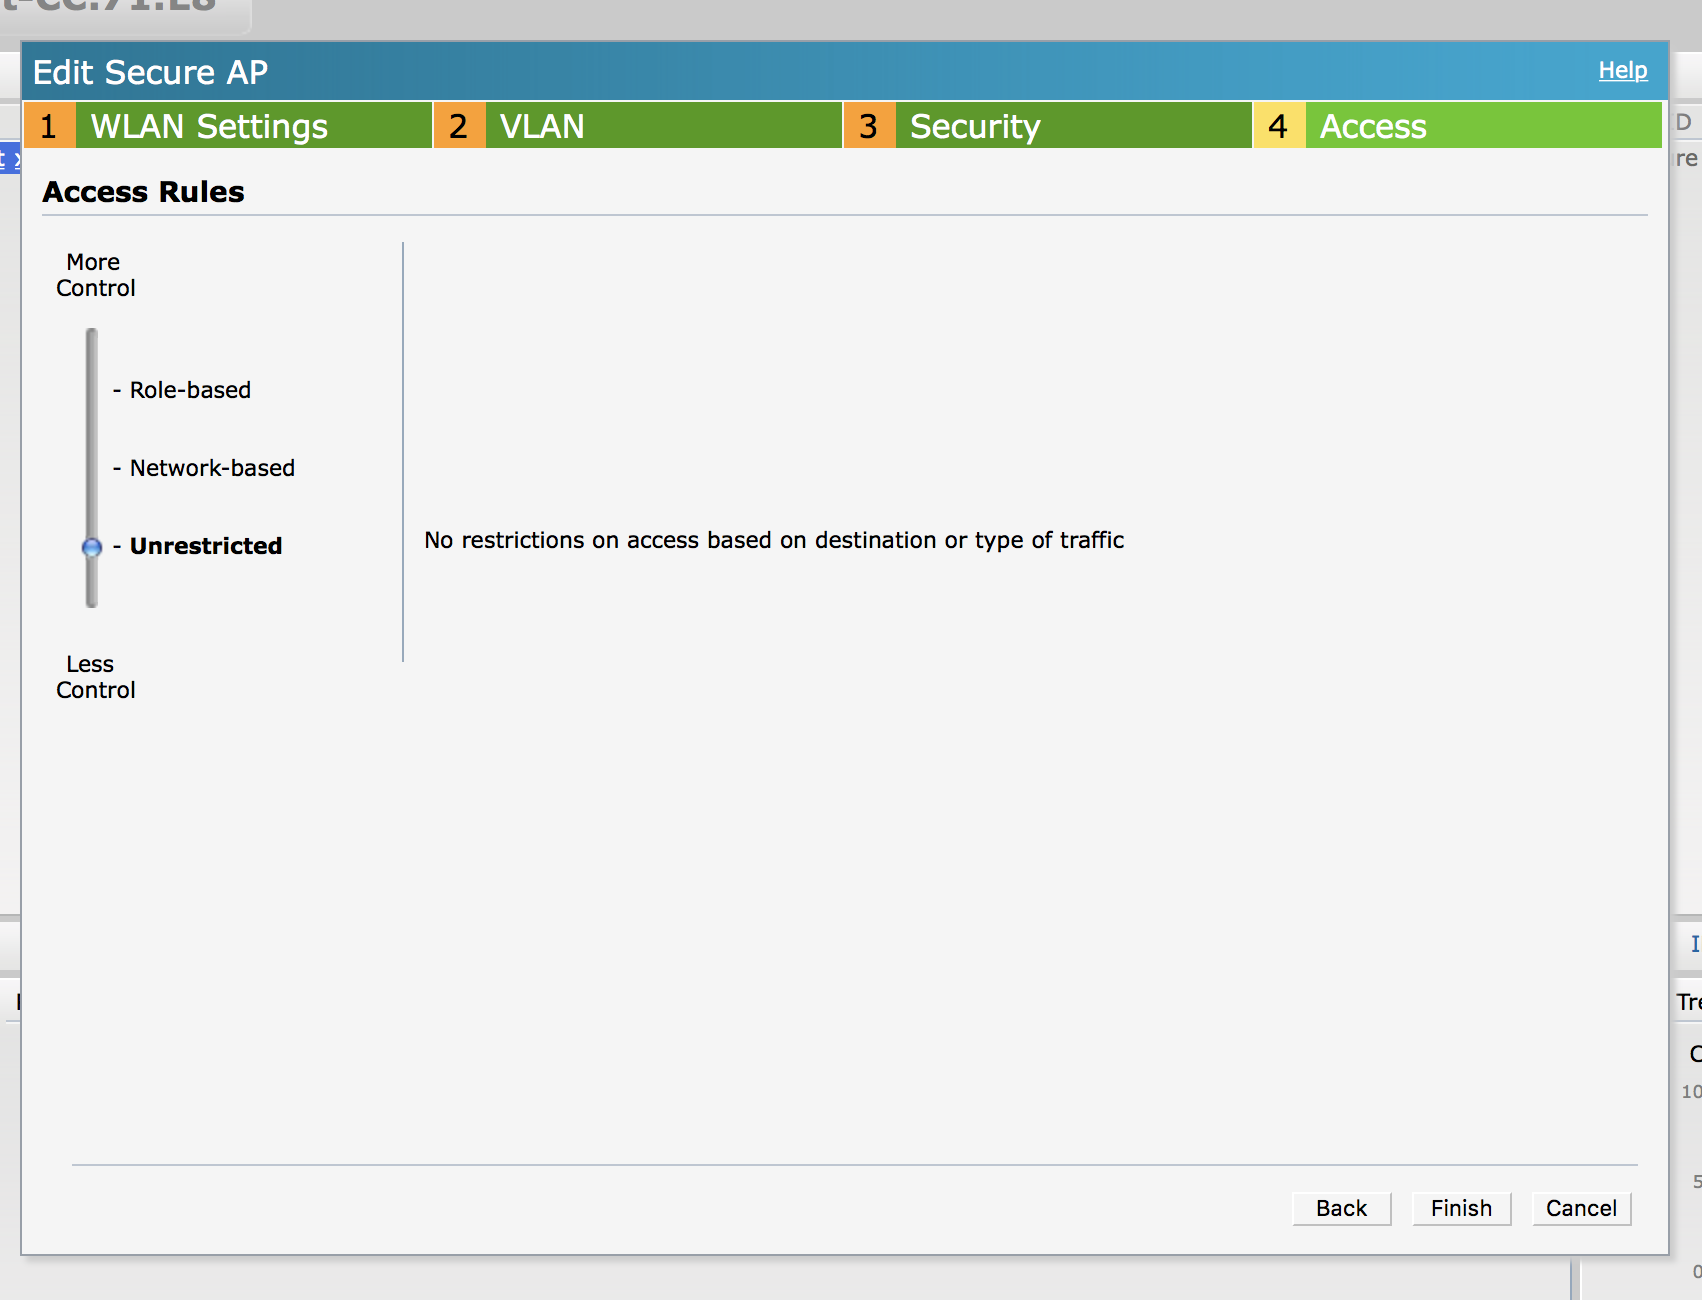
Once they have authenticated they have no restrictions:
Now lets get free radius done. in Gentoo I did the
USE="ldap mysql odbc pam python readline ssl" emerge freeradius |
I have a desire to switch to LDAP at some point but not right now.
after free radius is configured we first should edit the clients.conf file
/etc/raddb/clients.conf
client <apip> { secret = YourTotallyAwesomeKeyYouPutInYourAPForRadius shortname = <apip> } |
now lets edit our inner-tunnel and default files, you have a VERY specific requirement in our setup to only auth via usernames and passwords so first things first find the authorize { section and add this line:
/etc/raddb/sites-available/inner-tunnel
if (User-Name =~ /host\//) { reject } |
right below ntdomain I added:
perl |
Right below update control I added:
if(!control:Auth-Type) { update control { Auth-Type = "ntlm_auth" } } |
Now find the authenticate { section
right below:
Auth-Type MS-CHAP { mschap } |
I added
ntlm_auth |
Follows the same steps for /etc/raddb/sites-available/default, The changes are e identical
Now we need to adjust our eap, I would HIGLY recommend getting a signed cert from comodo or something, doing that is out of the scope of this tutorial but I did this for mine, and it prevented non trusted alerts on the client side.
ok anyways edit: /etc/raddb/mods-enabled/eap
You will want to find these lines:
default_eap_type = |
Change it to
default_eap_type = peap |
again, I am going to skip the tis-config tis-common section, but you MUST set this up to make it work…
scoot on down to peap {
we want to make that use mschapv2 (it might already be setup like this)
peap { tls = tls-common default_eap_type = mschapv2 copy_request_to_tunnel = no use_tunneled_reply = no virtual_server = "inner-tunnel" } |
That’s in in this file, now let’s fix up mschap
/etc/raddb/mods-enabled/mschap
in section mschap {
with_ntdomain_hack=yes use_mppe = yes require_encryption = yes require_strong = yes ntlm_auth = "/usr/bin/ntlm_auth --request-nt-key --username=%{mschap:User-Name:-None} --challenge=%{%{mschap:Challenge}:-00} --nt-response=%{%{mschap:NT-Response}:-00}" |
That’s it in mschap
now lets mixup ntlm_auth
/etc/raddb/mods-enabled/ntlm_auth
change the program = line to this:
program = "/usr/bin/ntlm_auth --request-nt-key --domain=EXAMPLE --username=%{mschap:User-Name} --password=%{User-Password}" |
Are you still with me???
Now we have the requirement of dropping the user group office-wifi into vlan 33 and office-wifi2 into vlan55
So there is a couple of ways to solve this I picked a perl script:
/etc/raddb/mods-config/perl/auth.pl
use Data::Dumper; our (%RAD_REQUEST, %RAD_REPLY, %RAD_CHECK, %RAD_STATE); use constant { RLM_MODULE_REJECT => 0, # immediately reject the request RLM_MODULE_OK => 2, # the module is OK, continue RLM_MODULE_HANDLED => 3, # the module handled the request, so stop RLM_MODULE_INVALID => 4, # the module considers the request invalid RLM_MODULE_USERLOCK => 5, # reject the request (user is locked out) RLM_MODULE_NOTFOUND => 6, # user not found RLM_MODULE_NOOP => 7, # module succeeded without doing anything RLM_MODULE_UPDATED => 8, # OK (pairs modified) RLM_MODULE_NUMCODES => 9 # How many return codes there are }; use constant { L_AUTH => 2, # Authentication message L_INFO => 3, # Informational message L_ERR => 4, # Error message L_WARN => 5, # Warning L_PROXY => 6, # Proxy messages L_ACCT => 7, # Accounting messages L_DBG => 16, # Only displayed when debugging is enabled L_DBG_WARN => 17, # Warning only displayed when debugging is enabled L_DBG_ERR => 18, # Error only displayed when debugging is enabled L_DBG_WARN_REQ => 19, # Less severe warning only displayed when debugging is enabled L_DBG_ERR_REQ => 20, # Less severe error only displayed when debugging is enabled }; sub authorize { if ($RAD_REQUEST{'FreeRADIUS-Proxied-To'} == "127.0.0.1") { return RLM_MODULE_OK; } $username = ""; if ($RAD_REQUEST{'User-Name'} =~ /\\/) { #strip the backslash @u = split(/\\/,$RAD_REQUEST{'User-Name'}); $username = $u[1]; } else { $username = $RAD_REQUEST{'User-Name'}; } #my $output = `id $RAD_REQUEST{'User-Name'}`; &radiusd::radlog(L_DBG, "**********Username: $username"); my $output = `id $username`; @var = split(/groups=/,$output); @groups = split(/,/,$var[1]); foreach(@groups) { my @var = split(/\(/,$_); $var[1] =~ s/\)//g; if ( $RAD_REQUEST{'NAS-Port-Type'} eq "Wireless-802.11") { if ($var[1] eq "office-wifi") { $RAD_REPLY{'Tunnel-Type'} = "VLAN"; $RAD_REPLY{'Tunnel-Medium-Type'} = "IEEE-802"; $RAD_REPLY{'Tunnel-Private-Group-ID'} = "33"; return RLM_MODULE_OK; } elsif ($var[1] eq "office-wifi2") { $RAD_REPLY{'Tunnel-Type'} = "VLAN"; $RAD_REPLY{'Tunnel-Medium-Type'} = "IEEE-802"; $RAD_REPLY{'Tunnel-Private-Group-ID'} = "55"; return RLM_MODULE_OK; } else { return RLM_MODULE_REJECT; } } if ($RAD_REQUEST{'MS-RAS-Vendor'} eq "11") { if ($var[1] eq "network-systems") { $RAD_REPLY{'Service-Type'} = "6"; $RAD_REPLY{'HP-Command-String'} =".*"; return RLM_MODULE_OK; } } } return RLM_MODULE_REJECT; } # Function to handle authenticate sub authenticate { return RLM_MODULE_OK; } # Function to handle preacct sub preacct { return RLM_MODULE_OK; } # Function to handle accounting sub accounting { return RLM_MODULE_OK; } sub checksimul { return RLM_MODULE_OK; } sub pre_proxy { return RLM_MODULE_OK; } # Function to handle post_proxy sub post_proxy { return RLM_MODULE_OK; } # Function to handle post_auth sub post_auth { return RLM_MODULE_OK; } sub xlat { } sub detach { } sub log_request_attributes { # This shouldn't be done in production environments! # This is only meant for debugging! for (keys %RAD_REQUEST) { &radiusd::radlog(L_DBG, "RAD_REQUEST: $_ = $RAD_REQUEST{$_}"); } } |
Feel free to edit the file above at will if the user is not in either group they will not be able to access the wpa2 enterprise network.
That’s basically it. Not much else to do, you can run
radiusd -X |
to run radius in the foreground or
/etc/init.d/radiusd start |
to run it in the background.
On your windows AD server anyone in the office-wifi group will be placed on VLAN 33 anyone on office-wifi2 will be on VLAN 55
Here is the video of it working:
VLAN ON!
–John